







Why cabinet panels punish the wrong sander
A cabinet door is a flat, visible, finished surface. That single fact rules out most of the sanders sitting in a typical garage. On framing lumber or a rough tabletop, a small dip in the middle of a board disappears into the grain. On a painted shaker door, the same dip reads as a shadow that moves as you walk past. A swirl mark that you cannot see on bare pine turns into a dark spiral the moment stain touches it. A rounded-over edge that felt smooth becomes an obvious gap against the face frame.
Three things separate a sander that works on cabinets from one that ruins them: how flat it keeps the surface, how much control you have near edges, and how well it collects dust. Motor wattage, brand name and the size of the accessory kit are secondary.
Flat sanding is the whole job
Cabinet work is mostly flat work. Panels, doors, face frames, drawer fronts and end panels are all broad, flat, and meant to stay that way. Any sander that concentrates pressure in a small area will dish the surface. Random orbital sanders spread the load across a platen, but they still dish if you lean on the machine. A better approach is to let the tool’s weight do the work and move slowly across the panel in overlapping passes.
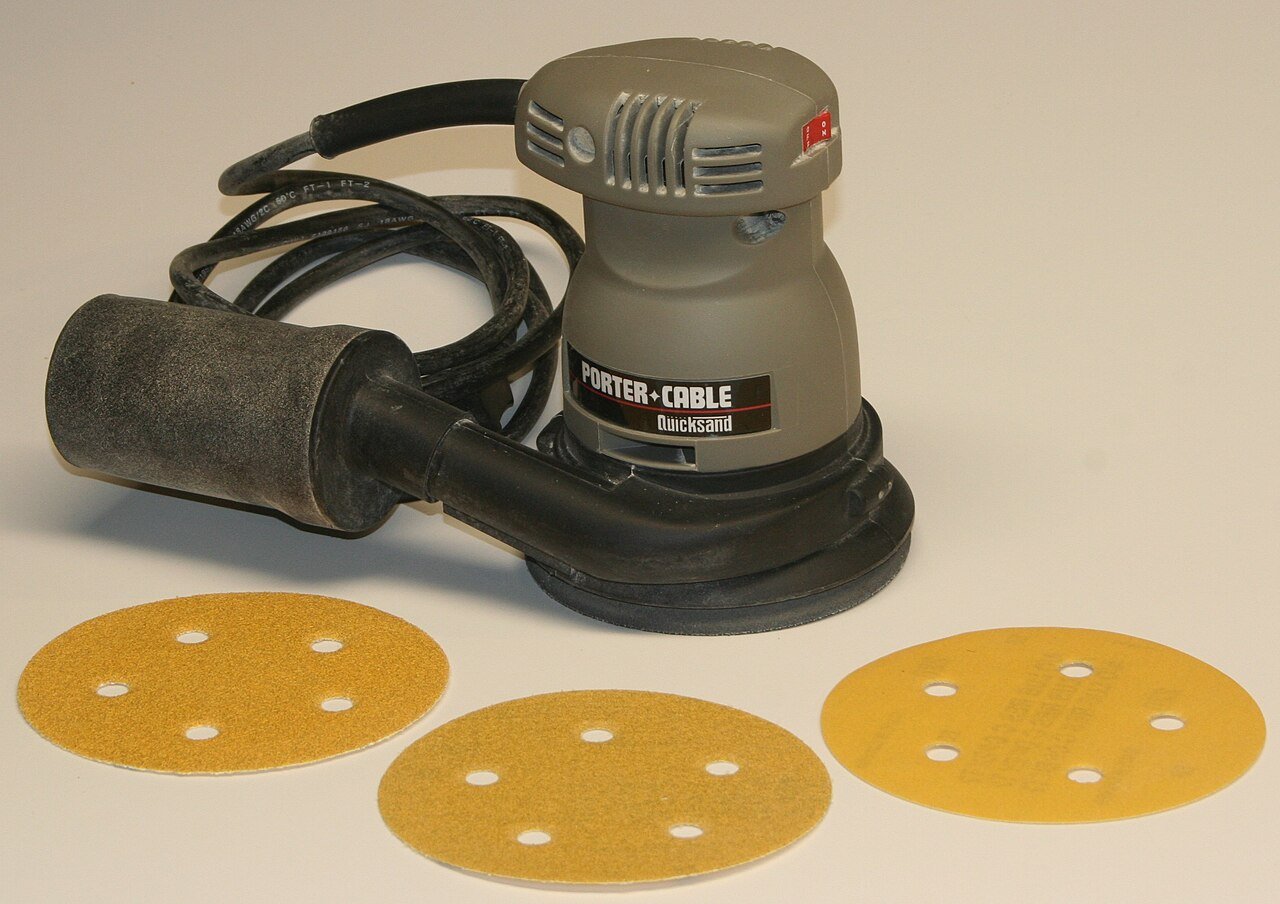
The size of the platen matters more than most buyers expect. A 5 inch pad is the common compromise for cabinets because it still fits inside the opening of a standard face frame. A 6 inch pad covers ground faster but rides up on narrow rails and stiles. If your cabinet doors have raised panels with decorative moulding, a large pad physically cannot reach into the cove without rounding the profile.
Where the swirl marks actually come from
Swirl marks are not a symptom of a cheap sander. They are a symptom of skipping grits, of moving the machine too fast, or of stopping in one spot. A random orbital pattern only stays random while the pad is moving. Hold the sander still and the orbit grinds a circular mark into the wood that no amount of finish will hide.
The fix is boring and effective. Never skip more than one grit step. Move the sander at roughly one inch per second. Lift the machine off the surface before you switch it off so the pad cannot spin down in place. And wipe the panel between grits, because a single stray granule of coarse grit left on the surface will carve a scratch deep enough to show through paint.
Edges, profiles and the tools that reach them
Cabinet work is not only flat. Door edges, the inside corners of a face frame, the cove of a raised panel and the inside of a drawer box all need attention. A random orbital sander with a firm interface pad handles the edges of a flat door if you keep the pad flat and never tip it. The moment you tip the machine, you round the edge, and a rounded edge on a cabinet door shows as a dark line once the door is hung.
Inside corners are the reason most cabinet shops keep a detail sander or a sanding block nearby. Powered detail sanders with a triangular pad reach into corners that no round pad can touch. For moulded profiles, a soft sanding sponge or a profiled block follows the shape instead of flattening it.
If you want a fuller breakdown of which machines hold up on panel work, the guide to the best sander for cabinets covers the comparison in more detail than a single article can.
Dust collection changes the finish, not just the air
Dust is not only a health problem. Sanding dust that stays on the panel gets dragged under the pad and pressed into the surface, and it fills the scratch pattern. When you apply stain, that packed dust lifts unevenly and gives you a blotchy finish that looks like a wood problem but is really a cleanup problem.
A sander with a sealed dust path and a pleated filter cartridge keeps far more of the fines out of the work area than a cloth bag. If the sander only accepts a bag, connect it to a shop vacuum with a cyclone separator. That combination usually beats the sander’s own filtration by a wide margin and keeps the pad clear, which in turn keeps the cut consistent.
Grits for cabinets, in order
- 80 grit: only for flattening rough mill marks or glue squeeze-out. Never take this to a visible surface.
- 120 grit: the workhorse. Removes the scratches left by 80 and prepares the panel for finishing.
- 150 grit: the usual final grit before stain on softwoods and veneered plywood.
- 180 to 220 grit: the usual final grit before paint, and between coats of primer.
- 400 grit and finer: between finish coats only, and by hand.
Veneered plywood and MDF behave differently from solid wood. Plywood veneer is thin enough that a moment of carelessness with 80 grit goes straight through it, so start at 120. MDF sands to a powder that clogs paper quickly, so change discs often and keep the extraction running.
Pressure, speed and the habits that matter
Almost everyone presses too hard. Extra pressure does not remove more material in any useful way. It loads the paper, heats the surface, dishes the panel and shortens the life of the sander. Let the machine float and let the abrasive cut.
Speed is a trade-off rather than a setting to maximise. On bare wood, a moderate speed with steady movement gives the most even scratch pattern. On finish between coats, a low speed with light pressure prevents burn-through on edges, which is where burn-through always happens first.
What to check before you buy
- Pad size that fits your face-frame openings, usually 5 inch.
- A brake that stops the pad quickly so it cannot spin down on the work.
- Dust port that matches a hose you already own or can adapt.
- Variable speed, because you will want low speed between finish coats.
- Comfortable grip and low vibration, because cabinet work means hours of sanding.
- Easily available discs in the grits you actually use.
Price is a poor guide here. A mid-range random orbital sander with good dust extraction and a flat platen will out-finish an expensive machine with poor control. The tool matters less than the order of grits, the amount of pressure and the patience you bring to the last two passes.
A quick decision guide by door type
Flat slab doors or MDF panels: a 5 inch random orbital sander with dust extraction and a firm interface pad does the entire job. Keep pressure light and let the platen stay flat on the surface. Raised panel doors with moulded profiles: the flat fields suit the random orbital, while the mouldings need a soft sanding sponge or a profiled block worked along the grain. Shaker doors with a recessed centre panel: the rails and stiles are flat and easy, but the inside corners where the panel meets the frame are the hard part, and they are where a detail sander or a hand block earns its place.
Mistakes that show up after the finish goes on
- Skipping straight from 80 to 180 grit, which leaves the coarse scratch pattern sitting under the finer one. Every scratch that survives sanding is amplified by stain.
- Sanding across the grain on solid wood. It looks fine on bare timber and turns into an obvious cross-grain scuff under stain.
- Rounding the edges of a door slightly, which looks harmless on the bench and becomes a dark outline once the door is hung in a face frame.
- Sanding MDF edges too hard and fuzzing them, so they soak up primer unevenly and need three coats where one should do.
- Leaving dust on the panel, which contaminates the finish and shows as grit under the topcoat.
- Sanding veneered plywood with coarse grit, which cuts through the veneer in seconds and cannot be repaired.
None of these are tool problems, and none are fixed by spending more on the sander.