





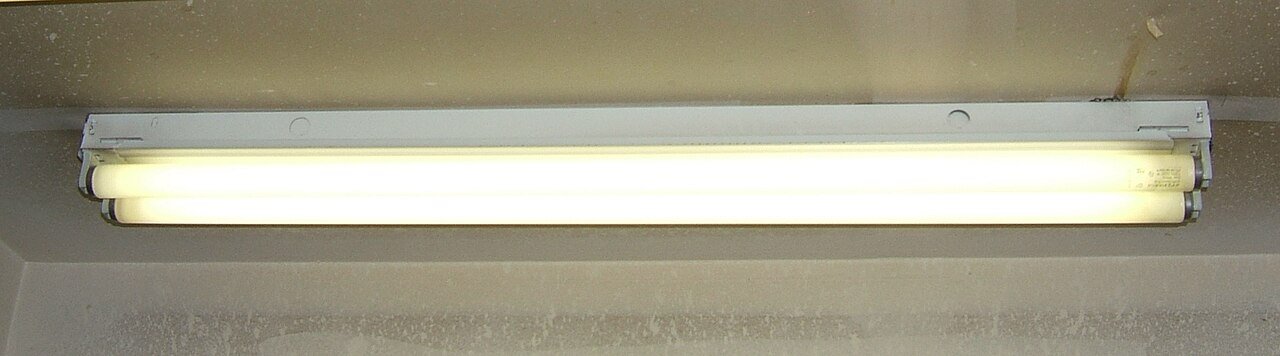
Why LED tubes are not a simple swap
Replacing fluorescent tubes with LED tubes looks like the easiest upgrade in a building. The tube comes out, the LED tube goes in, the running cost drops. In practice there are three wiring situations and only one of them is plug and play, which is why so many LED tube retrofits end in either a dead tube or a flickering one.
Type A, Type B and Type A plus B
LED tubes are classified by how they get power.
- Type A, sometimes called ballast compatible or direct fit, runs on the existing fluorescent ballast. You remove the old tube, fit the new one, and nothing else changes. It is the easiest route and the least efficient, because the old ballast still consumes power and eventually fails, and when it fails the LED tube stops working even though the tube itself is fine.
- Type B, sometimes called ballast bypass or direct wire, runs on mains voltage. The ballast must be removed and the fixture rewired so mains power reaches the sockets. This is more work and needs an electrician in most jurisdictions, but it removes the failure point, uses less power and is the more durable arrangement.
- Type A plus B works either way, which sounds ideal and means the tube contains internal circuitry to handle both. That circuitry is another thing to fail, and dual mode tubes are usually the most expensive option.
The practical rule is that a single tube in a domestic fitting is fine as Type A. A workshop, garage or commercial ceiling with twenty fittings is worth rewiring to Type B, because the ballast is the part that will fail first and you will be paying someone to climb a ladder every time it does.
Ballast compatibility is narrower than advertised
Even Type A tubes are not universally compatible. Tubes are marked as working with electronic ballasts, with magnetic ballasts, or with both. Many cheap LED tubes claim compatibility and then flicker or fail to start on the specific ballast in your fitting, because the ballast’s output does not match what the tube’s driver expects.
Before ordering, read the label on the ballast inside the fitting, not just the label on the old tube. Note whether it is magnetic or electronic, its rated wattage and its starting method. A tube sold as compatible with the wrong ballast type will either not light, light dimly, or flicker at a visible rate, and flicker in a workshop is both tiring and a hazard around rotating machinery.
Wattage equivalence and claimed brightness
Fluorescent tubes are sold by length and nominal wattage: a four foot T8 might be 32 watts, a four foot T5 might be 28 watts or 54 watts depending on the generation. LED replacement tubes are sold by a claimed equivalence to those figures, which is a marketing number rather than a measured one.
What you actually need is the lumen output, and it should be at least equal to what the fluorescent tube produced when new. As a rough guide, a four foot fluorescent tube in good condition produces somewhere around 2000 to 2800 lumens. A replacement LED tube should state a lumen figure in that range, measured out of the tube rather than at the LED chips. A tube that quotes only watts and an equivalence claim is telling you very little.
Colour temperature, CRI and consistency across a run
Tubes come in the same nominal colour temperatures as other lamps, usually 4000K neutral and 6000K to 6500K daylight. Workshops generally suit 4000K to 5000K, because cooler light makes detail and colour differences easier to judge.
The problem in a large installation is consistency. Cheap tubes vary from one batch to the next, so a ceiling fitted over several months can end up with visibly different tubes side by side. Buy a spare or two from the same batch at the same time, and check the colour tolerance band rather than just the nominal figure.
Flicker, drivers and cold starts
Flicker that is invisible in daylight is often obvious at the edge of vision, and a long row of flickering tubes is worse than one. Look for a tube whose driver is described as flicker free, and if you intend to dim, confirm that the tube supports dimming on its own rather than relying on a dimmable ballast.
Cold starting matters in unheated garages and outbuildings. Fluorescent tubes are poor at low temperatures, which is one of the main reasons people switch. Check the rated operating temperature of the LED tube, because cheap tubes also dim or fail to start near freezing.
Light distribution and fixture condition
A tube produces light in all directions, and the fixture reflector, if there is one, decides how much of that reaches the work. A dirty or missing reflector wastes a large share of the output. Clean the reflector and check whether it is still reflective before blaming the tube.
Diffusers have the opposite effect. A yellowed diffuser absorbs light and casts a colour onto the work, so a tube swap that leaves an old diffuser in place will not deliver the improvement the specification promises.
Safety before anything else
- Isolate the circuit at the breaker before opening any fluorescent fitting, and verify it is dead.
- Fluorescent tubes contain mercury. Do not break them, and dispose of the old tubes as hazardous waste.
- Do not leave an electronic ballast in circuit if you convert to Type B; it will destroy the tube.
- Check that the fixture’s lampholders are not brittle from years of heat before reusing them.
- If your jurisdiction requires a licensed electrician for fixture rewiring, use one.
What to check before buying
- Type A, B or A plus B, decided by how many fittings you are converting.
- Ballast type noted from the fitting itself, not the product listing.
- Lumen output comparable to the fluorescent tube it replaces.
- Colour temperature suited to the work, with a tight tolerance band.
- Flicker-free driver, and dimming support if you need it.
- Operating temperature suited to an unheated space if that is where it is going.
- Buy spares from the same batch.
If you would rather compare options on output and driver quality than on equivalence claims, the guide to LED bulb and tube options covers the practical differences.
How many tubes do you actually need
Replacing tube for tube is the easiest plan and not always the right one. The lumen output per tube is usually higher than the fluorescent tube it replaces, so a fitting that previously held two tubes may only need one, provided the light distribution still works. On the other hand, old fittings often had a reflector and diffuser that were doing work, and removing them changes how the light reaches the floor.
Do the arithmetic before ordering. Measure the room, work out the target illuminance for the task, and divide by the delivered lumens of the tube you intend to use. For a garage used for parking, a modest figure is fine. For a workshop with machinery, you want enough light that you never lean into a shadow, and that usually means more tubes rather than brighter ones, because more sources reduce hard shadows.
Comparing LED tubes with the alternatives
- LED batten or strip fittings: often a better choice than a tube retrofit for a new installation, because there is no ballast to remove and no lampholder that can go brittle.
- LED panel lights: flatter, more even and more decorative, better for offices and kitchens, and more expensive per fitting.
- Direct wire LED tubes: the cheapest way to bring an existing tube installation up to date when you are willing to rewire.
- Keeping fluorescents and maintaining them: still acceptable in a rarely used space, and the wrong choice where the lights run all day.
The economics of switching are driven by hours of use. A lamp that runs two hours a week will take many years to repay its cost, while one that runs all day pays back quickly. Be honest about the duty cycle before spending, and remember that the failure point in a retrofit is almost always the ballast you kept rather than the tube you bought.