






A wood router is the most versatile tool in a small shop and the easiest one to buy badly. Routers cut profiles, rabbets, dadoes, dovetails and decorative edges, and they do it with a spinning bit at twenty thousand revolutions per minute. At the cheaper end of the market, the compromises are predictable, and knowing them turns a confusing purchase into a short list.
Fixed base, plunge or trim
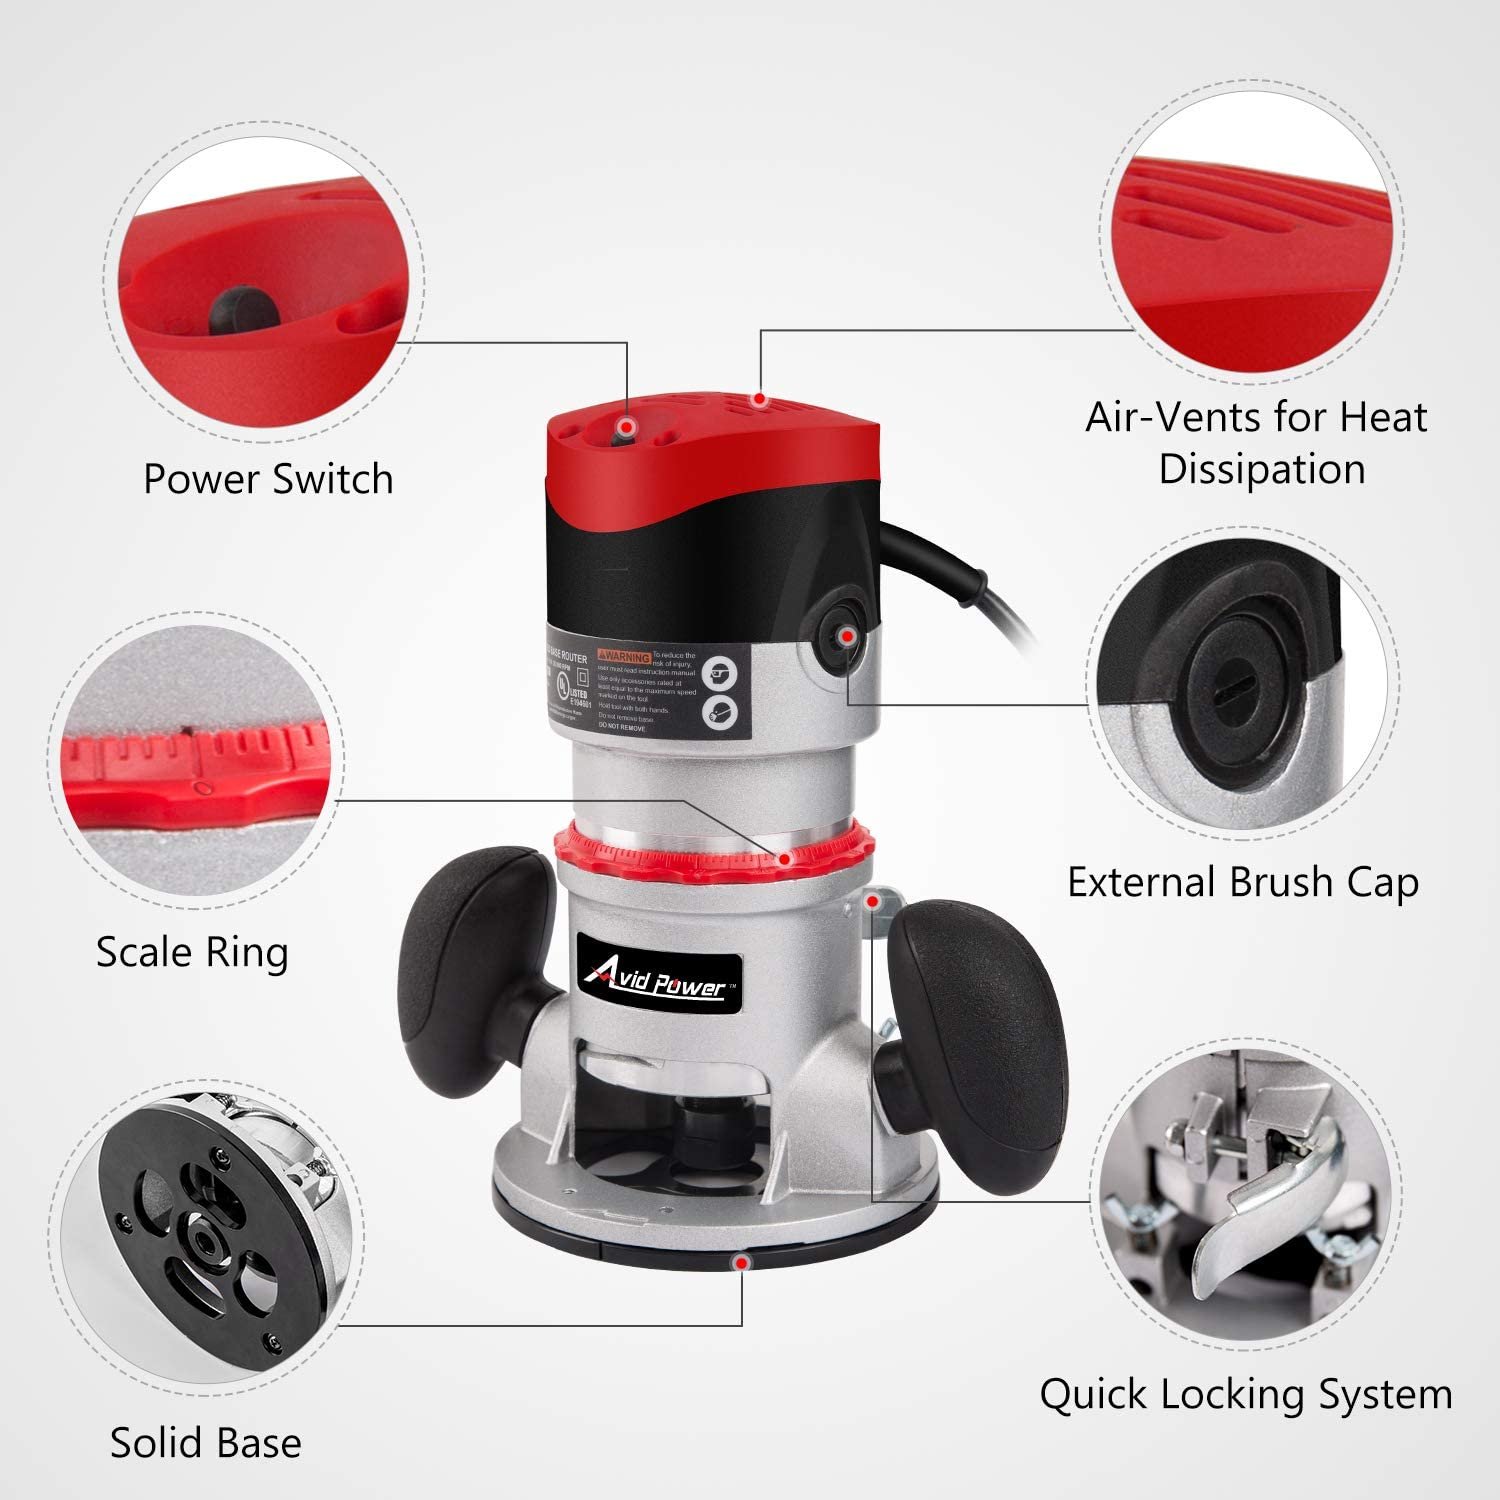
Fixed base routers are light and simple, with the bit depth set before the cut. Plunge routers let you lower the bit into the work, which is essential for stopped grooves and interior cuts. Trim routers are small, single-handed, and ideal for edges and laminate. If you can only own one, a mid-size plunge router covers the most ground; if your work is edges and hinges, a trim router is the tool you will actually reach for.
Where budget routers compromise
- Base flatness, which shows up as an inconsistent depth of cut
- Collet quality, which lets a bit slip or vibrate
- Plunge posts with play, so the bit wanders on the way down
- Fixed speed, when the correct speed depends on bit diameter
- Weak dust extraction, which is a health issue as much as a cleanup one
Collet runout is the one to check first. A bit that wobbles leaves a rough cut and dulls quickly, and no amount of technique fixes it.
Horsepower and bit size
A 1 1/4 horsepower trim router turns small bits well. A 2 to 2 1/4 horsepower plunge router handles raised panel bits and larger cuts without bogging. A 3 horsepower router belongs in a table. Match the motor to the largest bit you intend to spin, and remember that large bits demand low speed.
Variable speed is not a luxury
Large diameter bits need slower speeds to prevent burning and to keep the edge from overheating. A router with a single speed is fine for straight bits and small roundovers, but the moment you fit a panel bit the lack of speed control becomes a limitation. If the budget stretches, buy the variable speed model.
What to buy with it
You need a decent set of bits, an edge guide, and a way to hold the work. A router table transforms small trim routers into a shaper for edges, and it is often a better second purchase than a bigger router. Add hearing protection and a dust mask, because routing produces fine dust in quantity.
For a comparison of the models that get the basics right, this roundup of cheap wood router picks is a sensible starting point before you commit to a collet size.
Technique notes
Feed against the rotation of the bit, which means right to left on an outside edge. Take shallow passes, especially in hardwood. Climb cutting is a technique for specific situations and a recipe for a runaway router in inexperienced hands. Keep the base flat on the work and the bit clear of the cut before you start the motor.
Bottom line
Buy for a flat base, a good collet and speed control, then add a table and a set of bits. A cheap router set up well cuts cleaner than an expensive one used badly, and the accessories are what turn a single tool into a whole workshop.
Bit shanks and collet sizes
Routers accept two shank sizes: a quarter inch and a half inch. A quarter inch shank is fine for small roundovers and trim bits, and it is what most trim routers use. A half inch shank is stiffer, vibrates less and is the only safe choice for large panel bits and raised panel cutters, because the extra diameter resists deflection under load. If you plan to build doors, buy a half inch router; if you are edging shelves, quarter inch is enough.
Never fit a half inch bit into a quarter inch collet with a sleeve and expect it to hold. Reducing sleeves exist, and they are acceptable for light work only, but they add runout and give you a second thing to come loose. Buy the router that matches the bits you will actually use, and buy the bits once.
Base plate and edge guidance
The base is the reference surface, so it has to be flat and it has to be large enough that the router does not tip when the bit overhangs the work. Cheap routers use a stamped base that is rarely flat; check yours with a straightedge. A sub-base made from quarter inch acrylic, drilled to match the mounting holes and centred with a chamfer bit, fixes both problems and costs a few dollars.
An edge guide that clamps into the base is the cheapest way to rout a straight groove parallel to an edge. Check that the guide rods are parallel and that the locking screws hold; a guide that slips mid-cut ruins the workpiece in a way that cannot be repaired.
Dust and chip clearance
Routing produces chips rather than dust, and chips pack into the cut and push the router away from the fence. A dust port connected to a shop vac keeps the cut clear and reduces the airborne fraction that reaches your lungs. On a budget router the port is often an afterthought, so check that it accepts a standard hose before you buy, and expect to make an adapter.
What a cheap router will not do
It will not hold a consistent depth in a table, because the plunge mechanism and the base casting flex. It will not survive raised panel bits in hard oak, because the motor is rated at its peak rather than continuously. It will not take a large bit safely without variable speed. Those three limits are the ones to plan around; within them, a cheap router does everything a hobbyist needs.
Maintenance that doubles its life
Blow the chips out of the plunge posts after every session, because packed debris is what makes a plunge router stiff. Check the collet for rust and never overtighten it. Replace the brushes when the motor starts to slow, and do not run the router continuously for more than a few minutes at a time.